Spark Plug Replacement Significance and DIY steps. When it comes to maintaining the health and performance of your vehicle, spark plugs play a crucial role that should not be overlooked. These small yet mighty components are essential for igniting the air-fuel mixture in the engine, ensuring smooth combustion and optimal power generation. Over time, however, spark plugs wear out, leading to reduced efficiency and potential engine issues. In this article, we’ll explore the significance of spark plug replacement and provide you with step-by-step DIY instructions to keep your engine running at its best.
Optimized Combustion:
Spark Plug Replacement As they wear out, the efficiency of combustion decreases, leading to poor fuel economy and reduced power. Regular replacement ensures that combustion remains optimal, promoting better fuel efficiency and engine performance. Worn-out spark plugs are more prone to misfires, which can result in rough engine idling, hesitation, and even increased emissions. Replacing spark plugs at the recommended intervals helps prevent misfires, keeping your engine running smoothly and reducing the risk of more severe issues.
Maintaining Engine Health:
Spark plugs also play a role in indicating the overall health of your engine. The condition of the spark plug can provide insights into potential problems such as oil leaks, coolant issues, or incorrect fuel-air mixture. Regular replacement allows you to address these issues early on, preventing more significant and costly repairs. By replacing spark plugs at the recommended intervals, you contribute to the overall health of your engine, potentially avoiding premature wear and tear on other engine components.
DIY Steps for Spark Plug Replacement:
Now that we understand the importance of spark plug replacement, let’s explore the simple steps you can take to replace them yourself and save on maintenance costs. New spark plugs (matched to your vehicle’s specifications)
Socket wrench
Spark plug socket
Spark plug gap tool
Torque wrench
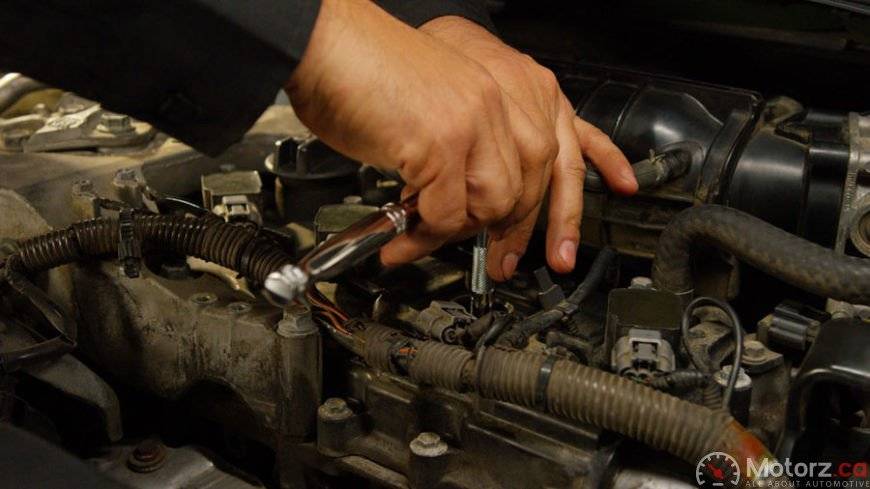
Locate the Spark Plugs:
Open the hood of your vehicle and locate the spark plugs. They are typically attached to thick rubber wires leading to the engine cylinders. Most vehicles have spark plugs accessible from the top of the engine. Use the socket wrench and spark plug socket to carefully remove the old spark plugs. Be sure to keep track of the order in which they are removed, as they may have different wear patterns.
Check and Adjust the Gap:
Use the spark plug gap tool to check the gap on the new spark plugs. Consult your vehicle’s manual for the correct gap size. Adjust the gap as needed using the gap tool. Carefully thread the new spark plugs into the engine cylinder by hand. Once they are snug, use the socket wrench to tighten them further. Be cautious not to over-tighten, as this can damage the threads.
Torque to Specifications:
Use the torque wrench to tighten the spark plugs to the manufacturer’s specifications. This ensures proper seating without causing damage. Carefully reconnect the spark plug wires to the corresponding spark plugs. Ensure a snug fit to prevent any loose connections. Start your vehicle and listen for any irregularities. If the engine runs smoothly, you’ve successfully replaced the spark plugs.
Conclusion:
Regular Spark Plug Replacement is a simple yet impactful maintenance task that can significantly contribute to the overall health and performance of your vehicle. By understanding the significance of spark plug replacement and following these DIY steps, you not only save on maintenance costs but also ensure that your engine continues to operate at its best. Take the initiative to keep your ride in top-notch condition and enjoy a smoother, more efficient driving experience.