Tire Puncture Steps to repair a flat tire. A flat tire is a common and inconvenient issue that every driver may encounter at some point. Whether it’s due to a nail, a sharp object on the road, or a slow leak, knowing how to repair a tire puncture is a valuable skill that can save time, money, and stress. In this article, we will guide you through the step-by-step process of repairing a flat tire, ensuring you’re back on the road safely.
Assessment and Safety Precautions
The first step in handling a flat tire is to find a safe location to pull over. Once stopped, turn on your hazard lights and engage the parking brake. Assess the damage by visually inspecting the tire for any obvious signs of a puncture. Be cautious of traffic, and if possible, park in a well-lit area away from oncoming vehicles.
Gather Necessary Tools and Equipment
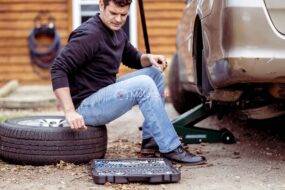
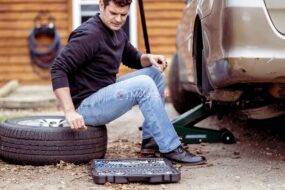
Before attempting to repair the tire, gather the tools and equipment needed for the job. A spare tire, jack, lug wrench, and a tire repair kit are essential. The tire repair kit typically includes a reamer, plug insertion tool, and tire plugs. Familiarize yourself with these tools, as they will be crucial in the repair process.
Remove the Flat Tire
Loosen the lug nuts on the flat tire using the lug wrench before lifting the vehicle with the jack. Once the vehicle is elevated, remove the lug nuts and take off the flat tire. Place the flat tire under the car near the jack as an additional safety measure, preventing the vehicle from falling in case the jack fails.
Locate the Puncture
Inspect the tire for the location of the puncture. Submerge the tire in water or use a mixture of soap and water to identify air bubbles, indicating the source of the leak. Mark the puncture area for easier identification during the repair process.
Prep the Puncture Site
Before inserting the tire plug, prepare the puncture site by reaming the hole with the provided tool from the repair kit. This widens the puncture, making it suitable for the plug insertion. Be sure to follow the kit’s instructions, and avoid excessive force to prevent further damage to the tire.
Inserting the Tire Plug
Take a tire plug from the kit and insert it into the puncture using the plug insertion tool. Push the plug into the hole until only a small portion remains visible. Trim any excess plug material, ensuring it sits flush with the tire’s surface. This step effectively seals the puncture, preventing air from escaping.
Reinstalling the Tire
With the puncture repaired, place the tire back onto the wheel hub and hand-tighten the lug nuts. Lower the vehicle using the jack, and then use the lug wrench to securely tighten the lug nuts in a crisscross pattern. This ensures even pressure on the wheel.
Check and Inflate
After reinstalling the tire, check its pressure using a tire pressure gauge. Inflate the tire to the recommended PSI (pounds per square inch) specified in your vehicle’s manual. This ensures proper tire performance and longevity. A portable air compressor can be a handy tool to have for on-the-go inflation.
Conclusion:
Knowing how to repair a Tire Puncture is a valuable skill that can save you from the inconvenience of waiting for roadside assistance or the cost of a tow truck. By following these step-by-step instructions, you can confidently handle a flat tire and get back on the road safely. Regularly check your tires for signs of wear and tear, and always be prepared with the necessary tools for a quick and effective tire puncture repair.


