We have all been there: you are Car Speaker Blown down the road, your favorite song comes on the radio, and you turn the volume up to catch that perfect bass line. But instead of a crisp, clean punch, you hear a sickening rattle, a fuzzy crackle, or a hollow hiss. Suddenly, your high-end audio system sounds like it is playing through a tin can.
A blown car speaker is one of the most frustrating minor “breaks” a vehicle can suffer. It doesn’t stop the car from running, but it certainly ruins the driving experience. The problem is that it isn’t always obvious which speaker is the culprit. Is it the woofer in the door? The tiny tweeter on the dash? Or perhaps just a loose piece of plastic trim?
In this Corner Wrench guide, we are going to show you how to perform a professional-grade audio diagnostic in less than 90 seconds. We will break down the telltale signs of speaker failure, the “Fader Test” trick, and what your next steps should be if you find a “dead” zone in your sound system.
What Exactly Is a Car Speaker Blown?
Before we start the clock on our 90-second test, it helps to understand what is actually happening behind your door panel. A speaker is a delicate mechanical device. It uses an electromagnet to move a “cone” (usually made of paper, plastic, or composite) back and forth.
Mechanical vs. Electrical Failure
The Torn Surround: This is a mechanical failure. The Car Speaker rubber or foam ring that holds the cone in place dries out and rips. This causes the cone to wobble and hit the frame, creating a “buzzing” or “farting” sound.
The Fried Voice Coil: This is an electrical failure. If you play your music too loud for too long, the wire coil inside the speaker gets so hot it melts or shorts out. This usually results in a speaker that is completely silent or produces a very faint, distorted sound.
The 90-Second Diagnostic: A Step-by-Step Guide
You don’t need a toolbox or a degree in electrical engineering to find a blown speaker. You just need your ears and your head unit’s settings. Follow these steps to isolate the problem.
Step 1: The “Fader and Balance” Isolation (30 Seconds)
The biggest mistake people make is listening to all speakers at once. To find the “ghost,” you need to isolate them.
Open your Audio Settings: Find the menu for “Balance” and “Fader.”
Move the Sound to One Corner: Use the touch screen or dial to move the sound entirely to the Front Left.
Evaluate: Listen for 5 seconds. Does it sound clear?
Rotate: Move the sound to the Front Right, then Rear Right, and finally Rear Left.
The Result: If three corners sound clear and one sounds fuzzy or quiet, you have found your culprit.
The Frequency Sweep (30 Seconds)
Some speakers only sound “blown” at certain pitches.
Test the Bass: Turn your “Bass” setting up to +5 and play a song with a heavy beat. If you hear a “flapping” sound, the woofer (the large part of the speaker) has a torn surround.
Test the Treble: Turn your “Treble” up and listen to a podcast or a song with high vocals. If you hear a sharp “crackle” or “hiss,” the tweeter (the small high-frequency speaker) is damaged.
The Physical “Touch” Test (30 Seconds)
If you can see the speaker through the grille, look closely while the music is playing.
Observe the Movement: Does the cone move smoothly, or does it look like it is vibrating erratically?
The “Hand” Test: Gently place your hand on the door panel or speaker grille. A blown speaker often creates a distinct mechanical vibration that feels “sharper” or more violent than the smooth vibration of a healthy speaker.
Common Causes of Speaker Distortion (That Aren’t Blown)
Before you buy replacement speakers, make sure the problem isn’t something else entirely. Sometimes “ghost” noises are easy to fix.
Loose Interior Trim
Modern cars are full of plastic clips. Sometimes, the heavy bass from a perfectly healthy speaker causes a loose door panel or a stray coin in the door pocket to vibrate.
The Fix: Press firmly on the plastic trim around the speaker while the music is playing. If the buzzing stops, your speaker is fine—you just need a piece of foam tape or a tighter screw.
Blown Amplifier Channels
If a speaker is completely silent, the problem might be the amplifier rather than the speaker itself. In high-end systems with external amps, a “dead channel” will result in zero sound reaching the door.
The Fix: This usually requires a professional to test the wiring with a multimeter. If you swap a “good” speaker into the “bad” spot and it still doesn’t work, the problem is your wiring or amp.
Can You Repair a Blown Speaker?
If you discover a speaker is indeed blown, you have three main paths forward.
The “Glue and Foam” DIY
If the only problem is a small tear in the foam surround, you can buy a “re-foam kit.” This involves gluing a new ring of foam onto the speaker.
Best For: Rare or expensive factory speakers that are hard to find.
Reality Check: It is a tedious process and rarely restores the speaker to 100 percent of its original sound quality.
The OEM Replacement
You can go to the dealership and buy the exact same speaker that came with the car.
Pros: It will plug directly into the factory wiring harness with no modifications.
Cons: Factory speakers are often cheaply made (paper cones) and can be surprisingly expensive when bought individually.
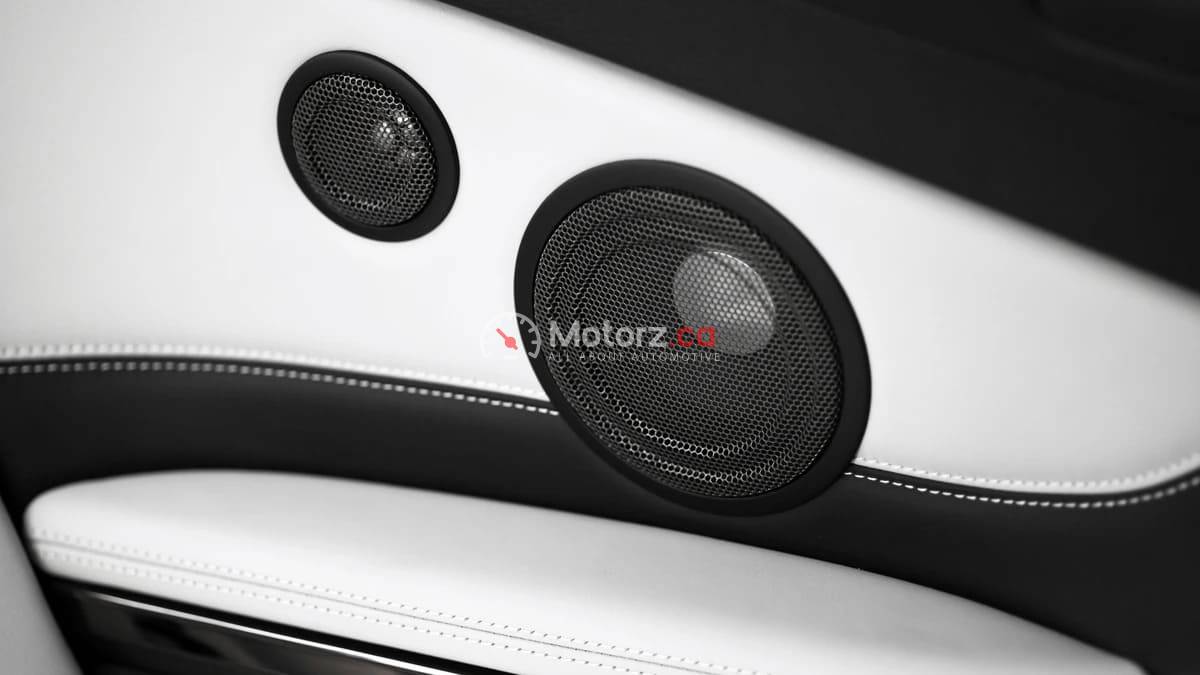
The Aftermarket Upgrade
This is almost always the best value. Brands like Pioneer, Kicker, or Alpine offer “coaxial” speakers that are much higher quality than factory units.
Tip: If you replace one speaker on the left side, you should always replace its partner on the right side. Mixing different brands of speakers on the same axle will result in an unbalanced “soundstage.”
How to Prevent Blowing Your Speakers
Once you have fresh sound, you want to keep it that way.
Avoid “Clipping”: Distortion kills speakers faster than volume. If your music starts to sound “fuzzy,” that is a sign your head unit is “clipping” the signal. Turn it down!
Adjust Your EQ: Don’t max out your Bass settings. If you want more bass than your speakers can provide, consider adding a dedicated subwoofer with its own amplifier.
Mind the Temperature: In extreme cold, speaker surrounds become brittle. Let the cabin warm up slightly before blasting the music to avoid cracking the rubber.
Take Control of Your Audio
Finding a blown car speaker doesn’t have to be a mystery. By using the 90-second isolation method, you can quickly identify whether you are dealing with a simple door rattle or a mechanical failure that requires a replacement.
Your car is your sanctuary, and the sound system is the heart of that environment. Don’t settle for crackling vocals or distorted bass. Now that you know how to “sniff out” the problem, you can get back to what really matters: enjoying the ride with a perfect soundtrack.