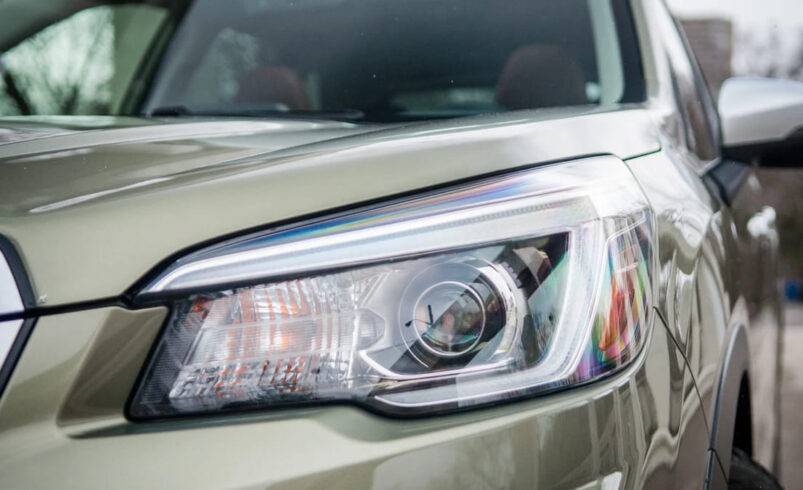
You walk out to your car after a heavy Corner Wrench Guide through the local high-pressure car wash, and you notice it: a hazy, blurred look inside your headlight lens. At first, it looks like simple fog, but upon closer inspection, you see actual droplets of water pooling at the bottom of the housing.
In the world of “The Corner Wrench,” we call this more than just an eyesore—it’s a safety hazard and a ticking clock for your car’s electrical system. Water and electricity have a famously volatile relationship, and when moisture invades your headlight or taillight assemblies, it can lead to short circuits, corroded bulb sockets, and a significant drop in nighttime visibility.
As we move through 2026, vehicle lighting has evolved from simple glass bulbs to complex LED arrays and laser-projection systems. These modern units are incredibly expensive to replace, often costing hundreds or even thousands for a single assembly. Knowing how to diagnose and fix moisture issues early is essential for every savvy car owner. In this comprehensive guide, we are diving deep into the causes of “foggy lights” and the step-by-step DIY solutions to keep your vision clear.
Corner Wrench Guide Ingress: Know the Difference
Before you reach for your tools, you need to determine exactly what you are dealing with. Not all moisture inside a headlight requires a repair.
Normal Condensation
Most modern headlights are not actually airtight; they are “vented.” These small vents allow for pressure equalization as the air inside the housing heats up (when the lights are on) and cools down (when they are off). On a humid day or after a sudden temperature shift, a thin film of “fog” may appear on the inside of the lens.
The Test: Turn your headlights on and drive for 20 minutes. If the fog disappears on its own, it is normal condensation. No action is required.
Water Ingress
If you see large droplets of water, “streaks” running down the inside of the lens, or a pool of standing water at the bottom, you have a leak. This means the factory seal has failed, a housing is cracked, or a protective cap is missing. This moisture will not evaporate on its own and will eventually ruin the reflective coating inside the light.
Common Culprits: How the Water Gets In
To fix the leak, you first have to find the source. Here are the “usual suspects” we see in the shop:
Cracked Seals and Gaskets
The most common entry point is the “butyl” seal that holds the clear lens to the black plastic housing. Over years of vibration and UV exposure, this adhesive can dry out and pull away, creating microscopic gaps that act as straws for rainwater.
Missing or Loose Rear Dust Caps
Behind your headlight assembly, there are plastic caps that you remove to change a bulb. If these aren’t twisted on correctly after a DIY bulb swap, or if the rubber O-ring on the cap has perished, moisture will fly directly into the light from the engine bay.
Impact Cracks
Sometimes the damage is obvious. A small pebble kicked up by a truck can create a “spider-web” crack. Even if the crack is too small to see from a distance, capillary action will pull moisture into the light every time it gets wet.
The DIY Fix: How to Dry and Seal Your Lights
If you have confirmed a leak, it is time to act. Here is the Corner Wrench approved method for restoring your lighting.
Removing the Moisture
You cannot seal a light that is still wet inside.
Remove the Housing: On most 2026 vehicles, this involves removing a few bolts under the hood or even partially dropping the front bumper cover.
Drain the Water: Remove the bulbs and pour out any standing water.
The Hairdryer Method: Use a hairdryer on a “Low” or “Cool” setting to blow air into the bulb openings. Caution: Do not use a high-heat heat gun, as you can easily melt the plastic housing or damage the delicate internal reflectors.
Silica Gel Packets: For stubborn moisture, you can temporarily place a few silica gel packets (the kind found in shoeboxes) inside the housing for 24 hours to suck out the remaining humidity. Just remember to remove them before reinstalling the bulbs!
Step 2: Finding and Sealing the Leak
Once the light is dry, you need to find the “hole.”
The Soap Test: While the light is out, you can spray soapy water on the exterior seams and gently blow air into a bulb hole using a compressed air can. Wherever bubbles appear, you have a leak.
Apply Sealant: Use a high-quality, clear silicone sealant or a specialized automotive “flowable silicone.” Run a thin bead along the seam where the lens meets the housing.
Check the Vents: Ensure the small rubber “breather” tubes or vents are not clogged with dirt or spider webs. If the air can’t circulate, the light will never stay clear.
Modern Lighting: LED and HID Considerations
If your car uses modern LED or HID (High-Intensity Discharge) lighting, the stakes are much higher.
Corrosion of the Igniter or Driver
In older cars, a wet bulb just meant a blown filament. In a 2026 LED system, the “driver” (the computer board that runs the light) is often located at the bottom of the housing. If water pools there, it will short-circuit the board, leading to a permanent failure of the entire unit. Fixing a leak today could save you from a 1,500 replacement bill tomorrow.
The Dangers of “DIY Drilling”
You may see advice online suggesting you should drill a small hole in the bottom of the light to let the water drain. Do not do this. While it might let the water out, it also lets more dust, road salt, and spiders in. This will permanently ruin the optics of the light and may cause your vehicle to fail a safety inspection.
Vigilance is Key
Your car’s lights are its “eyes” on the road. When moisture gets in, it’s a signal that the protective barrier of your vehicle is breaking down. By catching condensation early and addressing real leaks with proper drying and sealing techniques, you protect your safety and your car’s resale value.
Remember, a clear lens isn’t just about looks—it’s about ensuring that when you hit the brakes or turn into a dark alleyway, your car communicates clearly with the world around it. Keep your seals tight and your vents clear.